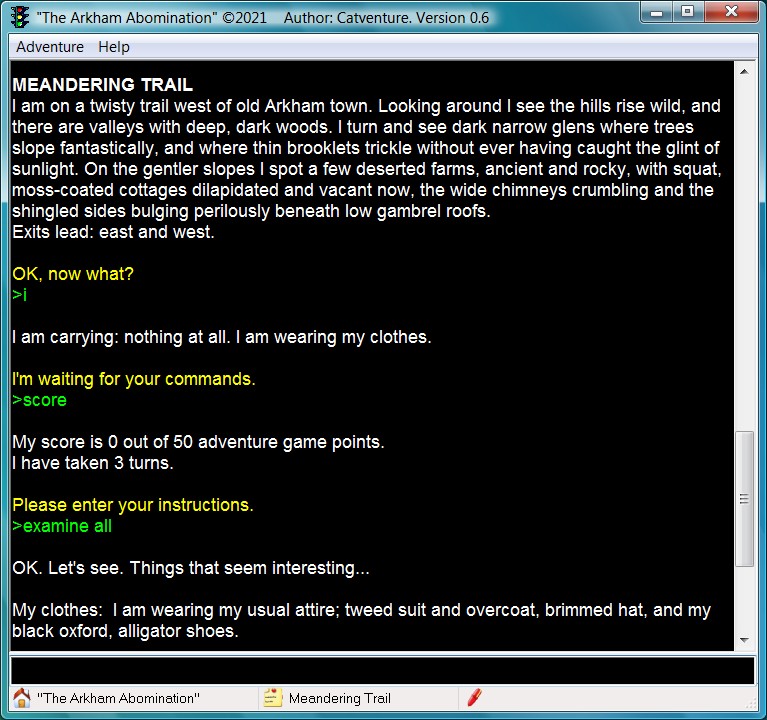
TAB is a retro-style, parser-based tool similar to 1980s systems like The Quill or PAW—easy for beginners, no traditional programming required beyond simple IF-style rules.
1. Download and Setup
Head to the itch.io page:
https://catventure.itch.io/tab
Download the latest version (e.g., TAB V71 - TEXT ONLY VERSION for simplicity, ~2.1 MB). There are also graphic versions if you want images later.
Unzip the folder anywhere on your Windows PC (works on XP and newer; 32/64-bit)
Important: Some antivirus programs flag the .exe files as false positives—add an exception if needed.
Run TAB_Editor. exe
2. Start a New Adventure (Using the Template) In TAB Editor, from the main menu, click Open Adventure.
Go to the "ADVENTURE GAMES TO PLAY" folder (included in the download) and open default.tab This gives you a ready template with basic vocabulary (N/S/E/W, TAKE, DROP, etc.), standard system messages (e.g., "You can't go that way"), and some starter entries.
Immediately go to File > Save Adventure As... and save it with a new name (e.g., myfirst.tab). This avoids overwriting the template.
Optional: Click the Tooltips button to turn them On—they explain fields as you hover.
3. Set Basic Game Settings. Click Game Settings Editor.
Key fields to change:Window Title: e.g., "My First Adventure by [Your Name]"
Display Mode: 1 (text-only for starters)
Player Strength: 7–10 (max weight you can carry)
Carryable: 5–10 (max items at once)
Start Location: Usually 1
Colors: Optional (foreground/background)
Click OK to save and return to main menu.
4. Create Locations (Rooms) Click Locations Editor.
Location numbers start at 1.
For each:Text — Full description (what shows on LOOK).
Brief — Short name (shown in room header or inventory context).
Exits — Set directions (N/S/E/W/Up/Down/etc.) to other location numbers (0 = blocked/no exit).
Example Loc 1:
Text: "You are standing at the entrance to a dark cave. A tunnel leads east."
Brief: "Cave Entrance"
Exits: East = 2
Loc 2:
Text: "You are in a small chamber."
Brief: "Small Chamber"
Exits: West = 1
Use the Find button or arrows to navigate entries.
Save often!
5. Add Objects. Click Objects Editor.
Each object has:Description (e.g., "a rusty sword")
Noun words (e.g., "/sword/blade/")
Start location (room number, or 0 = nowhere yet, or special like 502 for worn items)
Weight & Size (affect carrying)
Flags: Wearable? Container? etc.
Example:
Object 1: "a red apple"
Noun: "/apple/"
Start loc: 1
Weight: 1
Message (examine): "It looks delicious."
Vocabulary: In Vocabulary Editor, add extra verbs/nouns/prepositions or deletions (ignore words like "red" so "red apple" matches "apple").
6. Customize Messages. Click System Message Editor.
Change Introduction (shown at game start):
Example: "Welcome to My First Adventure! You awaken in a strange place..."
Other messages: "You are carrying:", "OK", etc.
7. Add Game Logic (The "Coding" Part)
This is the heart—using Response Editor (for player commands) and Script Editors (automatic/turn-based events)
Format for entries (all lowercase):
[start]words conditions#condition1#condition2[acts]action1#action2[end]
[start] — Trigger words (e.g., "take apple)
#conditions — Checks (e.g., #here1 = object 1 here, #carried1 = player has it, #absent1 = player doesn't, #flag1=0 = flag state)
[acts] — Do things (e.g., create1 = make object appear, destroy1 = remove, cmess = print message, score+10, flag1=1)
#done — Stop processing further (optional but useful)
Simple example to add in Response Editor
eat apple (if you added one):
[start]eat apple#here1[acts]destroy1#cmessCrunchy and sweet![end]
For events that run every turn (e.g., timers, random happenings), use Script 1 or Script 2 editors.
8. Test and Build
From main menu, click Test Adventure — launches in TAB Player.
Type commands: n/s/e/w, look, take coin, inventory, examine apple, quit.
Debug: Fix typos, add missing conditions (e.g., can't take if not here).
When happy make a standalone .exe with TAB Player runtime (distributable—no editor needed).
Tips & Next Steps
Start tiny: 3–5 rooms, 2–3 objects, a couple puzzles (e.g., find key → open chest → win).
Read LANGUAGE.txt for all ~200 conditions/actions (e.g., #charpresent, #random, openobj, play sound).
Check demos in the zip for real examples.
If stuck, the quick tutorial has a full "Sacred Quest of Dragoria" example with digging, giving items to NPCs, flags, etc.
Have fun—your first adventure can be playable in under an HOUR!
The program itself — the editor and interpreter/runtime — is written in thinBasic, which is a modern, interpreted BASIC-like programming language designed for Windows.
For actually creating games in ThinBASIC Adventure Builder, you don't write thinBasic code directly. Instead, TAB uses its own built-in, simplified condition/action system (sometimes described as a "condition/action 'language'"):You define locations, objects, synonyms, messages, etc., mostly through a graphical IDE/editor interface.
The "coding" part happens when you set up parser responses and game logic using IF...THEN-style conditional rules.
These are entered in a structured, somewhat BASIC-resembling format.
It's designed to feel approachable and retro — more like filling in a form or scripting simple rules than full programming — while still allowing quite complex adventures. (including optional graphics, sound/music)
The adventures you build are compiled/exported into standalone Windows .exe files using the TAB Player Runtime. (also thinBasic-based)
It's a niche, hobbyist tool rather than a mainstream IF authoring system but remains easy to use with a fast learning curve.